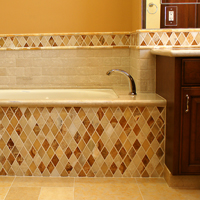
CHOOSING THE BEST TILE LAYOUT
for your floors and walls
Layout is how the tile was cut and installed. A good layout would give you the most full pieces of tile for the entire wall or floor.
- A perfect layout would have no cut pieces, all of the installation would consist of full pieces.
- A good layout would have few cut pieces, most of the installation would consist of full pieces.
- A bad layout has many cut pieces spread unevenly across the surface.
Symmetry is another component of your layout. Symmetry means, if your tiled wall or floor was cut down the middle, both sides would look like they were distributed properly. In a perfect world, one side would reflect the other.
- A perfect layout would have perfect symmetry. You could cut the wall or floor in half and see that both sides are identical.
- A good layout would have good symmetry. You could cut the wall or floor in half and see that both sides are nearly equal.
- A bad layout would have little or no symmetry. You could cut the wall or floor in half and see little or no similarities.
How to Find The Best Layout:
- Dryset the tile. This simply means, lay your tile on the floor and arrange it so you find a layout that looks best.
- Locate your starting point. Sometimes you need to start setting tile in the middle of a wall. Other times you want to start from the corner of the room which is seen immediately upon entry. Other times you, may need to forget about balance and symmetry and start your installation from the center of a fixture.
- After drysetting with what you think is a good layout, step back and look at it with a fresh eye. Is your layout have balanced?
Examples of Good Layout
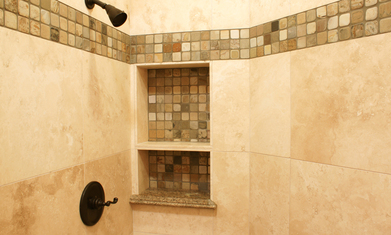
In this shower, the installation was started in the left corner. Notice the right corner where a tile was cut in half before it was installed. This gives an impression of having a full piece of tile and allows for a better layout.
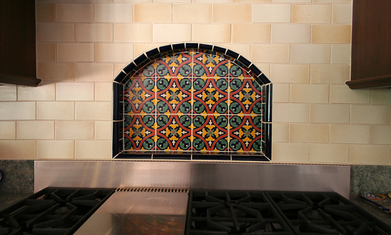
In this kitchen, the installation was started in the center of the two cabinets, directly above the niche (spice shelf). The subway tile was installed in a brickset pattern providing a balanced, horizontal pattern to the backsplash.
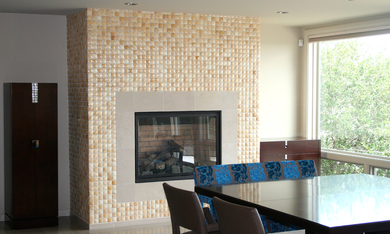
In this fireplace, the installation was started from the floor at the corner. You can see the tile was cut at the ceiling and if looked at closely, at the back wall. Because these edges are rarely seen, the layout provides the impression of 100% complete pieces.
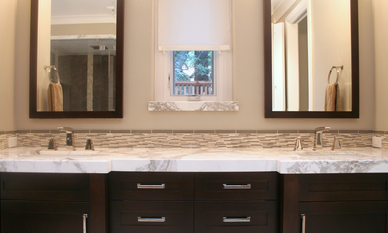
In this bathroom, the backsplash was started with the grout line directly centered between the two walls. The backsplash was cut just slightly on each end. Because the cut was balanced between both ends, it gives the impression of full pieces throughout the backsplash.
Summary
In summary, layout refers to how the tile was cut and installed. A better layout would have mostly full pieces, with minimal cuts and have symmetry so if it were cut down the middle, both halves would look similar.
If you are having difficulty with your layout and want a professional tile installer to do it for you, please reach out to us below.
If you are having difficulty with your layout and want a professional tile installer to do it for you, please reach out to us below.
PO Box 54333,
San Jose,
CA
95154
408-938-3494

